Using Paper Textures Creatively
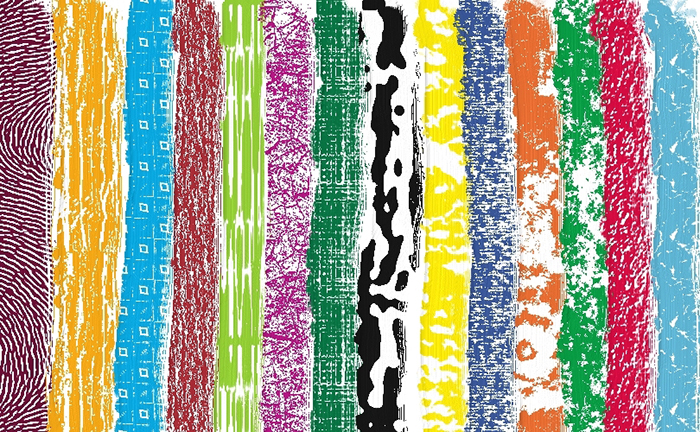
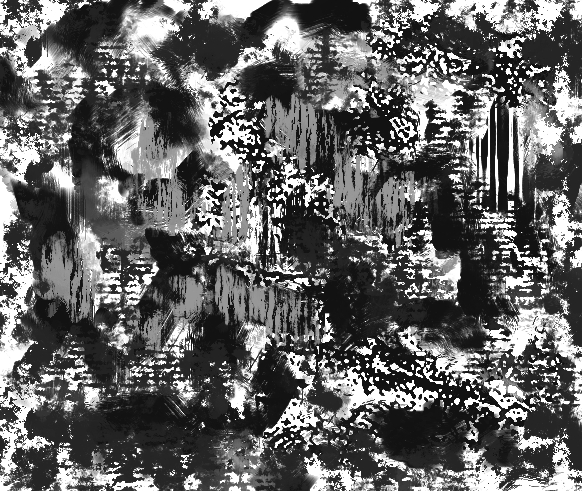
The beauty and texture of your painting is determined not only by your choice of brushes but your choice of paper texture as well. I enjoy creating paper textures. I created several recently and decided to show you how this works in Corel Painter. this gives you yet another creative tool in your work. In Painter, go to Window, select Paper Libraries. Select a paper of your choice and from the fly out menu, select Paper Control Menu. This gives you the controls which determine the size of the paper grain, the degree of contrast and brightness. These variables determine the look of your texture. Below is an example of a variety of texture looks which were determined simply by the selection of paper. With each stroke made, the brush was the same.
Simply by changing your choice of papers you can obtain this variation of results with a single brush.
Some brushes are more effective in adding grain and texture than other. The Chalk and Pastel Variants as well as many others are very effective. Chosing a brush which has “grain” in it’s brush controls is a good idea. Some brushes require the grain setting to be at 100% for best results, others are more effective at 7 % – why this is, I have no idea. But it is important to know that if it is not one way, it is the other. I find this to be a great feature in Painter. Play with it. Open a blank document as I have and have fun. I made a little video so you can watch me go through the steps.
Using Paper Texture Video
Corel Painter has made available Extra Content for it users. This includes extra libraries of papers, gradients, patterns etc. You may access the
Extra Content Here
You may then import them as a “legacy library”.

