Corel Painter 12.1 Tutorials – Creating Painter LOOKS

It is easy  to create custom and accessible brush and texture combinations called “LOOKS” in Corel Painter 12.1

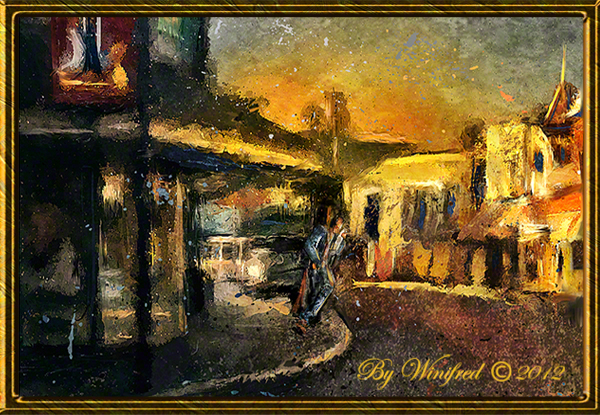
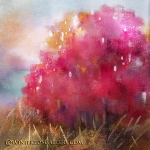
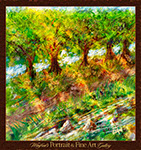
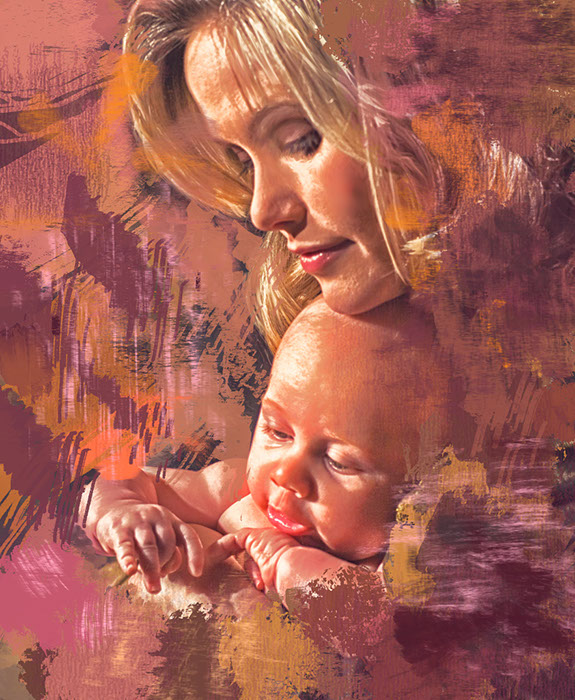
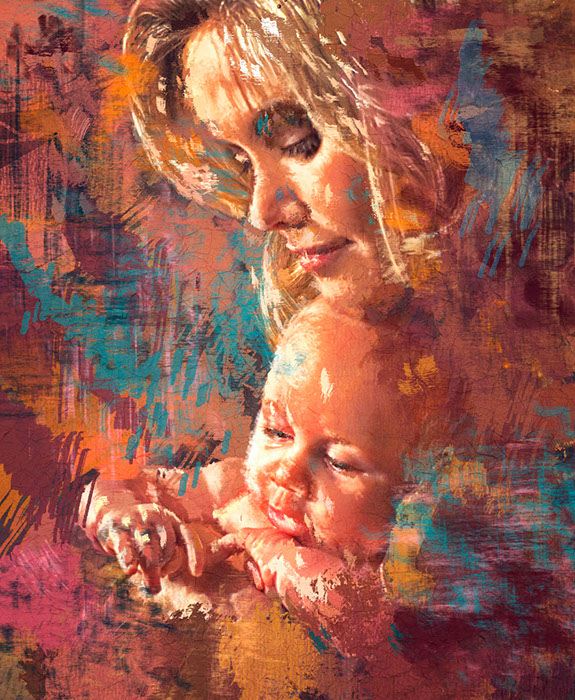
I have created a custom “splatter look” with a specific brush and paper

to simulate the look spattered paint in the image below.

I  can now apply this”spatter” effect to any image with just the click of a “look”.

I hope  you enjoy this video, I would love to receive your comments and feedback.

~~~~~

Winifred Whitfield  is a portrait painter, a fine art painter and teaches digital painting using  Corel Painter and Photoshop.

Related Images:

Winifred Photographing High School Seniors

Photographing High School Seniors Naturally.

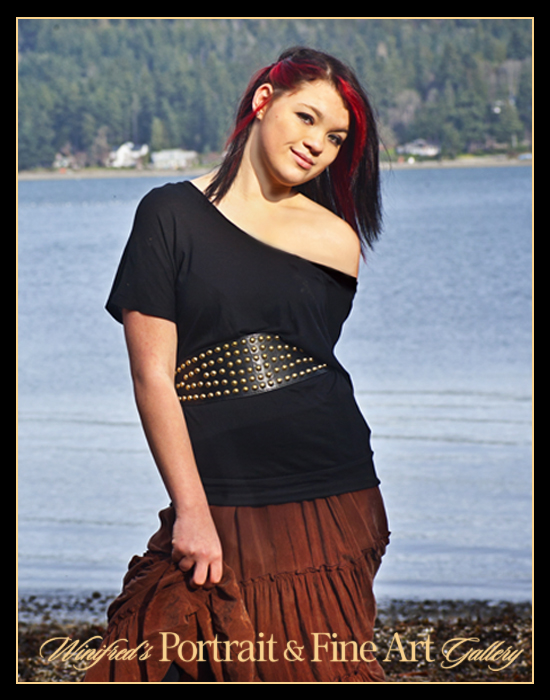
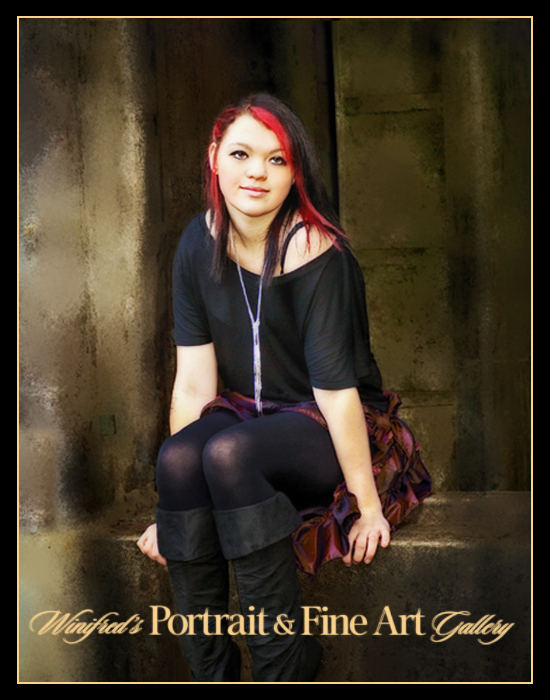
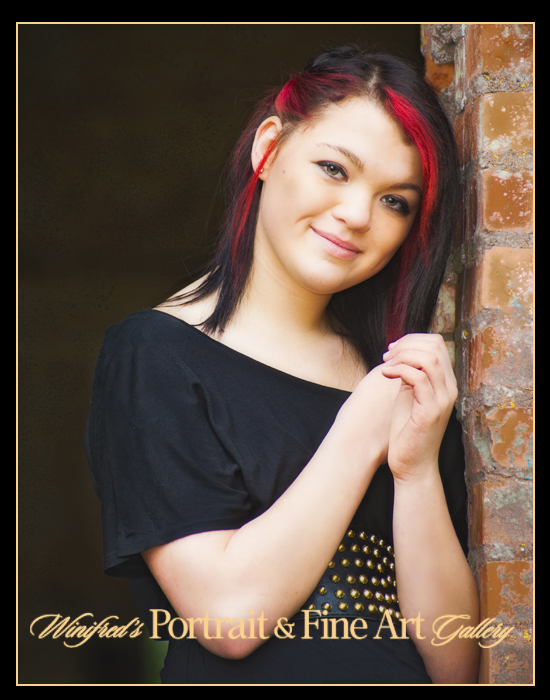
I don’t photograph lots of seniors but when I do I enjoy it. They are definitely fun to work with.  I like to keep things simple,  natural, and outdoors when possible using simple but complimentary settings.  I think long tern and don’t want to go wild with the possibilities which are available to us digitally.  I want to create timeless portrait. These are important portraits and mark for many a major turning point in life.  The following are recent images of  “Missy”.

My clients suggested the location and it was a great one.

There was such variety.

I also wanted natural and simplicity of background.
When it competed with the subject,

I softened it as I did above.

As with all portraiture, paying attention to quality and direction of light was essential.

Modest enhances were added to these images using Nik Software.

My monitor display is optimized using X-Rite  Color management solutions, in this instance, i1 Pro Photo.

Related Images:

Resources I Believe In

I use these products – I believe in them.


Corel Painter Updates:

Corel Painter 12.1 Update 

Corel Painter 12.2 Update

Corel Painter Brushes:


Skip Allen Paints – AWESOME  PAINTER BRUSHES to DOWNLOAD FREE, lots of tutorials and other industry info. Sign up to receive his BLOG

A NEW must have Brush Set  – Buttery Oils Download  Here

Skip Allens Gold Leaf Brushes – Plus A must have – even if you don’t know it yet

Karen Bonaker’s Painter Talk Forum for new painters, experienced painters and others who just want to check things out.


David Gell’s Concept Glo Brushes and MANY Others – True Painter Brush Engineer

Struggling to get started with Corel Painter, Want to learn more about making Brushes – Check out the Digital Art Academy

Color Management


Calibrate your Display X-rite Color Management Solutions

Winifred’s YouTube Channel – Corel Painter Tutorials Client Interviews and More

Nik Software  Website – Launch Your Creativity

Winifred’s X-Rite and Nik  Sponsored Webinar


Related Images:

Creativity with Nik Software

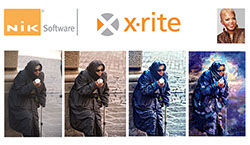
When I am working on a photograph or when I know I am going from a photograph to a painting, I have a very definite workflow which includes NIK software.

I find this first image – warm  and loving. Nik Color Effect’s filter Dynamic Skin Softener has been applied. We could stop there – but NO!

In the second image, I have applied the filters Detail Extractor (one of my absolute favorite filters) and Tonal Contrast have been applied, but the contrast is moved toward the  left to, the negative, to decrease rather  than to increase the contrast. With both filters appliedI have both detail and a broad range of color intensity. I like this rich warm look as a starting place, particularly when I know I want to create a portrait painting.

In the image below, I have applied Nik Color Effects 4 Bleach Bypass filter.  When back in Photoshop, I applied the Nik filter layer  in  the lighten blend mode  to  really “pop” the highlights of the image only.  I have enough shadow detail.

Below, I have taken the image into Corel Painter and started to apply brush strokes.  Quite honestly, I like this version and it could have been he final version. But “NO”.
I continued to paint in Painter. I wanted a very painterly feel to the image and wanted to add some complimentary colors with my blue tones.
This is the final image,  I enjoy creating personal art for my clients which I know they will treasure forever.

Related Images:

Link for Winifred’s X-Rite-Nik Webinar

On November 16th, I hosted  webinar  sponsored by Nik software and X-Rite.  Attendance was at capacity – nearly 1000 webinar attendees. For this reason, quite a few were unable to attend and requested the archived link. Here it is – enjoy:

Winifred’s X-Rite and Nik  Sponsored
“TAKE YOUR IMAGES TO WOW”!!

This was the first webinar I have ever hosted.  I was a little nervous in the beginning but then I relaxed and had a great time.  I will soon have custom Nik Color Effects 4  “recipes” posted on their site.

I will host workshops and Corel Painter training through out 2012. Please contact me if you would like to be notified.

Related Images:

Winifred’s Nik Recipes

Winifred Whitfield’s Nik Software Recipes

I created this image with a recipe  made in using Nik Filters in Nik Color Effects  Pro 4.

I will be exporting my recipes for your use. Please sign up to receive my Blog in order to receive them.

Florence, Italy 2009

Related Images:

Winifred Whitfield Host Webinar – X-Rite – Nik Software

Winifred Whitfield Host Webinar Sponsored by Nik Software and X-Rite

I am passionate about the creativity and quality I bring to my images. However, I cannot accomplish this through sheer will alone. Color management is critical to producing images which have the color and density which I envision and can see on my monitor.  X-Rite for all of my color management  needs. Likewise it is essential to use  software which supports my creativity.  I use Nik Software.  I use Nik filters to  enhance paintings and photos alike.

Photo with a Custom Blend of Nik  Filters  Applied

By using X-Rite color management tools, I am able to create custom white balance for my camera,  a custom camera profile consistent with specific lighting conditions to optimize the colors in my images. For this, I use the Colorchecker Passport.  I use the i1 Pro Photo to calibrate my monitor,  projector and printer.  If I am traveling, I use the ColorMunki Display to calibrate my laptop or a projector if I am conducting a workshop. The ColorMunki Display is a simple to use wizard driven device and it is indispensable.  If you print, I would recommend the ColorMunki Photo as a simple way to create custom profiles which will match your display to  your printer.

On November 16th, I will conduct a  live webinar  sponsored by Nik software and X-Rite to discuss how I use Color Management and Nik filters in my workflow.  I will post the webnar link as soon as it becomes available.

A 15% discount is available if you purchase  Nik Software online.

Enter the Code: wwpainter

Related Images: