Creativity with Nik Software

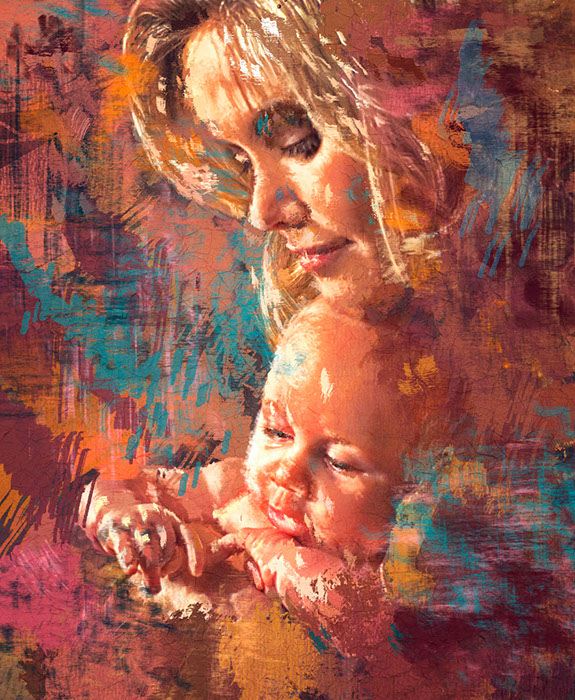
When I am working on a photograph or when I know I am going from a photograph to a painting, I have a very definite workflow which includes NIK software.

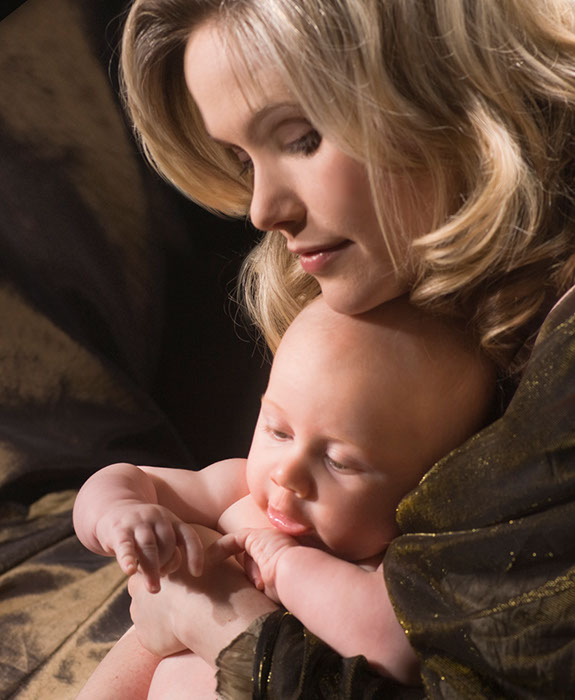
I find this first image – warm  and loving. Nik Color Effect’s filter Dynamic Skin Softener has been applied. We could stop there – but NO!

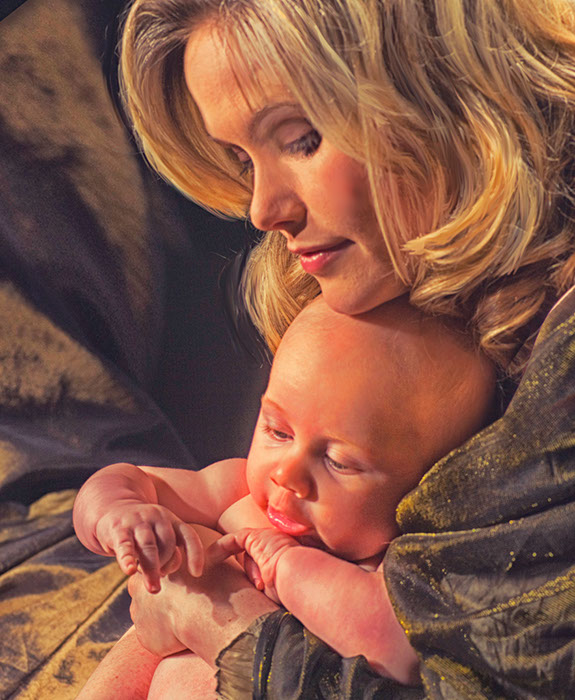
In the second image, I have applied the filters Detail Extractor (one of my absolute favorite filters) and Tonal Contrast have been applied, but the contrast is moved toward the  left to, the negative, to decrease rather  than to increase the contrast. With both filters appliedI have both detail and a broad range of color intensity. I like this rich warm look as a starting place, particularly when I know I want to create a portrait painting.

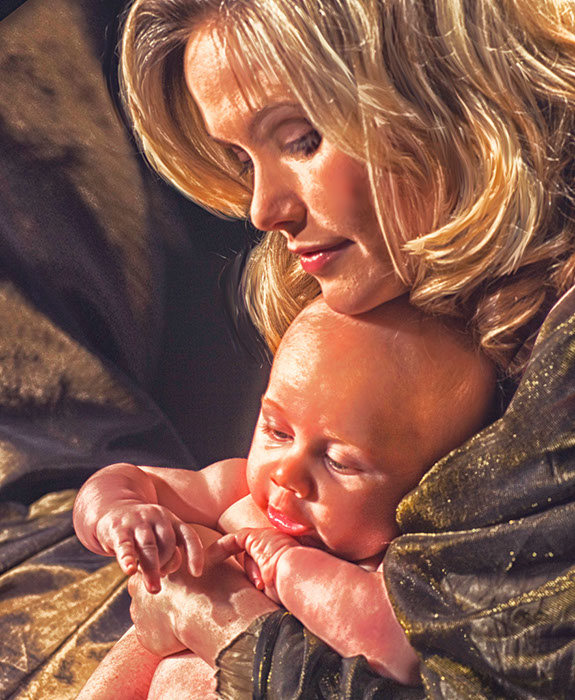
In the image below, I have applied Nik Color Effects 4 Bleach Bypass filter.  When back in Photoshop, I applied the Nik filter layer  in  the lighten blend mode  to  really “pop” the highlights of the image only.  I have enough shadow detail.

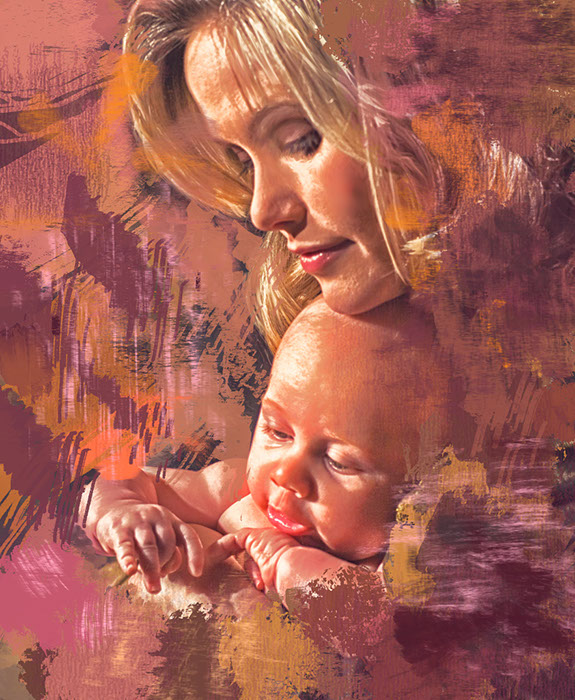
Below, I have taken the image into Corel Painter and started to apply brush strokes.  Quite honestly, I like this version and it could have been he final version. But “NO”.
I continued to paint in Painter. I wanted a very painterly feel to the image and wanted to add some complimentary colors with my blue tones.
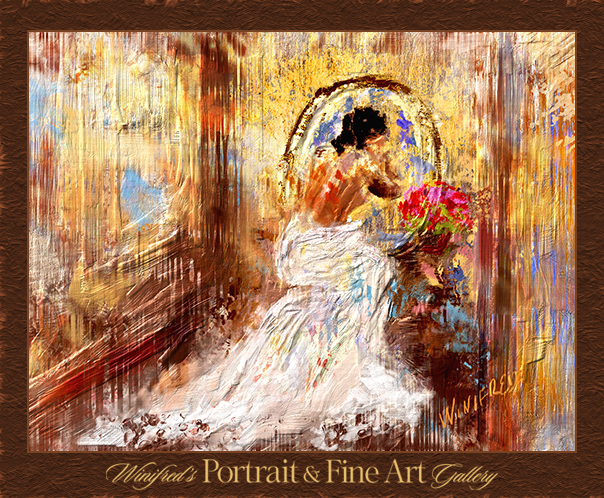
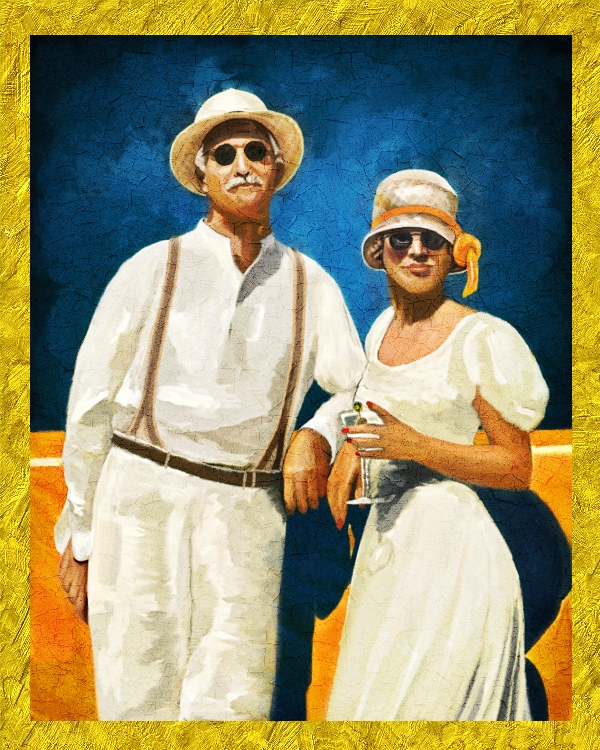
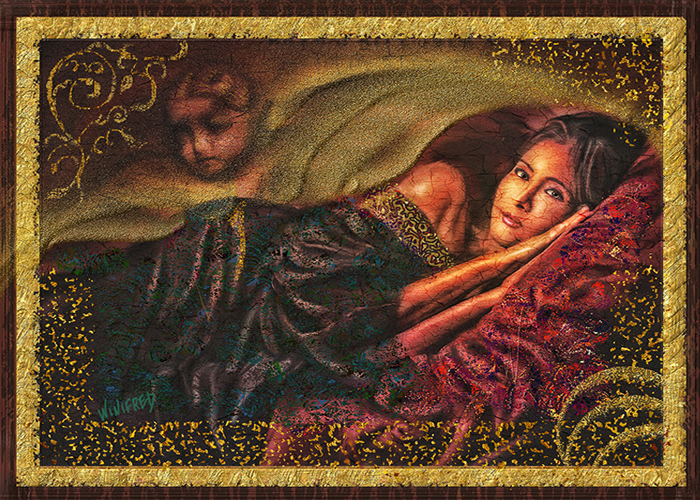
This is the final image,  I enjoy creating personal art for my clients which I know they will treasure forever.

Related Images:

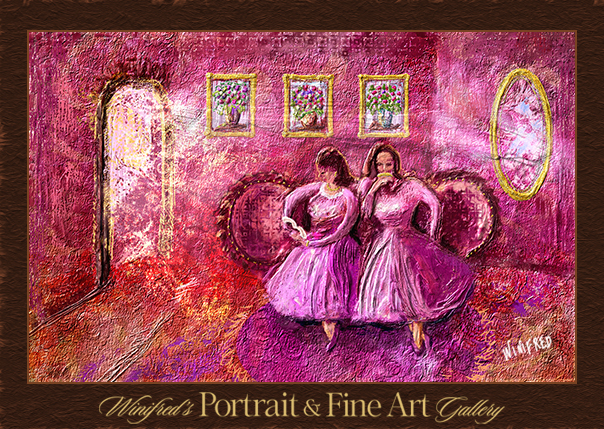
Winifred’s Ladies in the Parlor

Make Some Marks

For some reason – this piece makes me thing I am looking into a doll house.  Probably the colors, the fact that a room was created, their doll like figures all contribute to this. Did I have this in mind when I started – indeed not. I just started.  Open a blank screen, selected a rose toned backround. filled it with a patterned paper texture, liked it and thought “hmmm” – what shall I do next? Perhaps an antique settee with a lady draped across it. I sketched a little settee, put in the arch of a doorway. I knew I wanted the to create the illusion of depth and a room beyond.  Looked back at my settee and within the shadows and pattern of the structure saw to women sitting there.  That set my direction and I simply  followed it.  It is kind of a one step at a time kind of evolution for me to create this kind of painting. So, I added the structure of walls, the floor and decorated the room. I love texture as you can see.

I think it is important to get something down on paper. It is less important to know what you are doing. When working from imagination, my “knowing” seems to trail behind my marks.  It’s kind if like my life.  I don’t wait to have everything figured out before I get going.  I get going and then my life reveals itself to me.  I am good with that.

This image is full of vibrant color – which reminds me to remind you how important it is to calibrate your display often so that you can actually see accurately the color you are creating.  X-Rites ColorMunki Display is the perfect device for you to use when you want an easy and affordable way to display your colors accurately.

Learn more about X-Rite color management solutions.

Related Images:

Winifred Whitfield Painting from Imagination

In this digital environment, we have so many options available to us in how we create paintings.  We can clone and take information and color from an underlying image, while retaining the ability to add new information, brushstrokes and unique creativity.  We can paint on top of an image, smoothing, blending, changing texture and color.  Creating custom work for my clients, the above two options are the best choices for retaining some degree of likeness and these are certainly the best options for  most photographers who cannot paint. And then there is the process of painting from imagination and one needs to be able to paint to do this.

With this process I visualize an image – even if only a starting point and I start painting.  I have no sketch, no photo to look at, no still life set before me.  It is so liberating.  It is an exploration. It is fun.  That is how the paintings below were born recently.   If at the end of a painting, I look at it and feel nothing –  is it brings me no joy or has no power or impact, I simply delete it.  The time and effort os never wasted. There is nothing to loose.  If you are interested in learning to paint in any of the ways, I described, please send an inquiry so I can determine how I can assist you.

And  below one of my all time favorites, and featured before in the post “doodling”

Related Images:

Corel Painter 12 – Creating an Image Portfolio

Maintain frequently used images in your custom image portfolio in Corel Painter to have them close at hand when you need them.  Use them as backgrounds, overlays, image details. or just a starting point for your painting.  This Video will show you how.

Related Images:

Corel Painter 12 Using Paper Textures To Enhance Your Paintings

Using Paper Textures Creatively

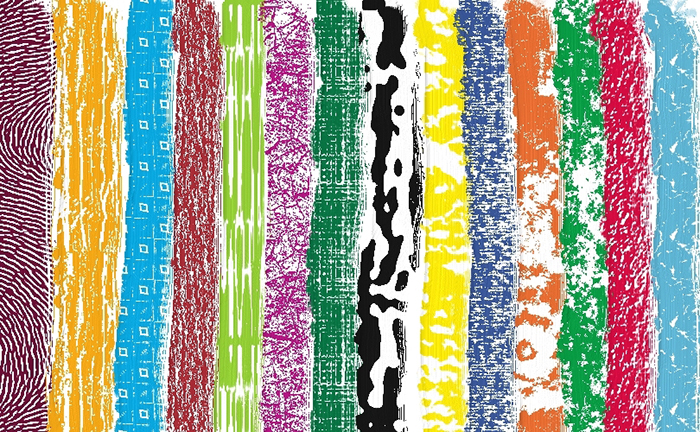
The beauty and texture of your painting  is determined  not only by your choice of brushes  but your choice of paper texture as well.  I  enjoy creating paper textures.  I created several recently and decided to show you how this works in Corel Painter. this gives you yet another creative tool in your work.  In Painter, go to Window, select Paper Libraries.  Select a paper of your choice and from the fly out menu, select Paper Control Menu. This gives you the controls which determine the size of the paper grain, the degree of contrast and brightness.  These variables determine the look of your texture.  Below is an example of a variety of texture looks which were determined simply by the selection of paper. With each stroke made,  the brush was the same.

Simply by changing your choice of papers you can obtain this variation of results with a single brush.

Some brushes are more effective in adding grain and texture than other.  The Chalk and Pastel Variants as well as many others are very effective.  Chosing a brush which has “grain” in it’s brush controls is a good idea.   Some brushes require the grain setting to be at 100% for best results, others are more effective at 7 % – why this is, I have no idea.  But it is important to know that if it is not one way, it is the other.  I find this to be a great feature in Painter. Play with it.  Open a blank document as I have and have fun. I made a little video so you can watch me go through the steps.

Using Paper Texture Video

Corel Painter has made available Extra Content for it users.  This includes extra libraries of papers, gradients, patterns etc. You may access the

Extra Content Here

You may then import them as a “legacy library”.

Related Images:

Corel Painter 12 – Making Custom Paper

Making Custom Paper

In this video tutorial, I will demonstrate how to create paper textures for Corel Painter 12 as well as for previous versions.  I will focus on 2 or the 3  most popular methods for doing this.  We will create paper from fractal patterns in another tutorial I will create a texture from an existing image file.  I will  then create a  simple black and white custom painting  in Corel Painter which I will capture as a paper texture.

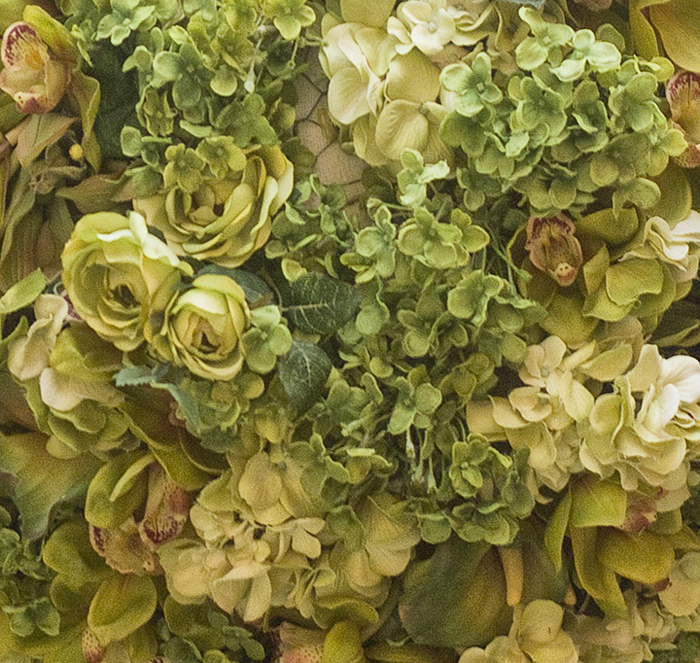
I selected this floral image to use to create a  paper texture.

Please feel free to download both of the above images to use in your paper library.

Sorry, I could not get the video to play on this page – click link above to go to Youtube.

Related Images:

Let’s Make A difference in 2012

How do we move forward in 2012?

It doesn’t have to be profound and if history is any validation those resolutions do not work.   Personally I believe in a couple of things.  One is intention.  For me, it is my intention to be not a good painter but a great painter.  What do the dance or piano virtuosos do?  They practice, practice. practice – 8. 10, 12 hours per day.  The fact is that on most days I do that too.  I love to paint so it is not a chore.  I have a small but high end clientele.  the high end does not necessarily mean they are all wealthy but they want great work and my higher end products.  They can see the difference in what I provide as opposed to other products available to the.  I truly care about the art I create for my clients. whether it be personal portrait art or another product I value, which is creating business portraits for distinguished women in my community.  I give my clients the best of me and I work to make that happen.

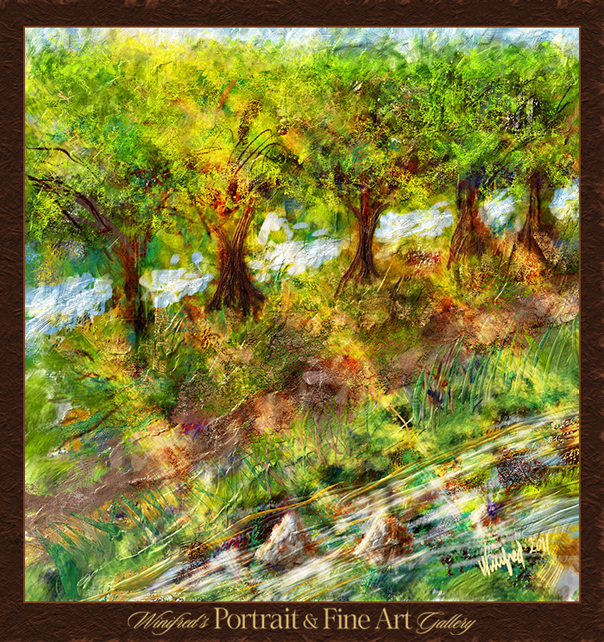
Back to baby steps and practice.   Yes, most days, I spend 8 to 16 hours at my computer either creating a client painting or just practicing.  I go through different paint brushes I have  collected.  I make marks on paper, I try a brush with different papers because this will determine the look of the stroke.  Often I just doodle.  You have seen some of my doodles in previous post.  Well I have more today.  I start with a blank canvas.  I can do no wrong because it is simply a practice  but it begins to set in my head what various brush/paper combinations looks  so that when I am actually working, I know just how to use my tools.   I am a firm believer in building my tool kit.   This image is the result of tonight’s doodling.  It’s trees again in a pastoral environment.  I must miss my farm, I seem  to keep recreating a similar environment in my images.  Rolling hills, a 100 year old farm house,  apple trees. I started making marks tonight and this is what happened.
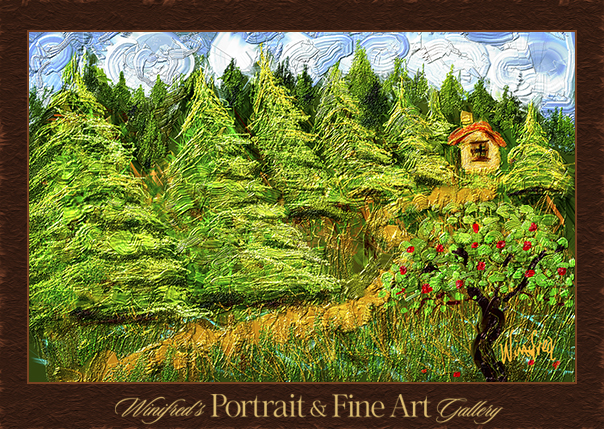
I love the thick impasto brushes with all the texture this gives.

In the image above I used various brushes by Skip Allen in his thick impasto brush set.

This skill building does not occur over night for any of us.  It is a journey.  And for me, with or without a photo, I love to paint. Little by little, day by day we learn. In my workshops, I always explain you can get started now and in a couple of years, you will likely be creating some pretty nice digital paintings or you can not get started and in a couple of years you will still have no clue how to make the Paint software sing.  So, just get started.  Even with baby steps, slowly but surely, you will start to see the results you want.

What ever your intention, stay focused and practice – you will achieve results – guaranteed.  Happy New Year and may all of your intentions come to fruition.
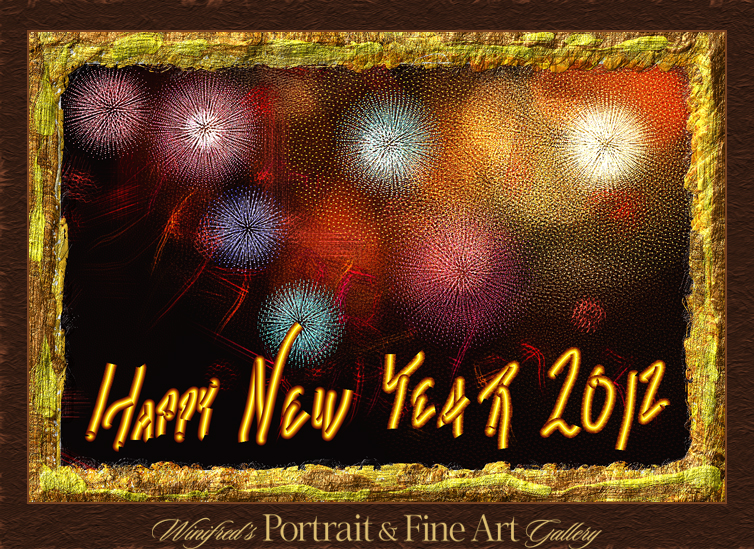
Again, just playing with brushes.

This is by no means a great image.  I simply  went looking for brushes which might simulate the appearance of fireworks. I went through all the brushes in the set tonight.  I have not had them very long. This was the point of the exercise – just to see.

I used David Gells, sparkling glo brush from his Concept Glo Brush Set for the fire works,  and Skip Allens Gold brushes for the gold border – I referred you to those in a previous blog.

Well, that’s it for 2011.  I wish you a very happy, accomplished and prosperous 2012.  Winifred

Related Images:

“Gold and Glitter” has been discovered in Corel Painter

Just in time for the holidays, Karen Bonaker and Skip Allen instructors at the Digital Art Academy have joined forces and have created  custom “Gold” painter brushes to glitter and dazzle us. They are truly  amazing. It is a wonderful way to embellish your cards or other art work.  Below is an example of an image I had in my files the before and after of adding gold.   Pretty amazing impact – I would say.

You may have these Custom Corel Painter Brushes for FREE

by registering at PainterTalk

Instructional videos will accompany them.

Brushes by Skip Allen and David Gell

Related Images:
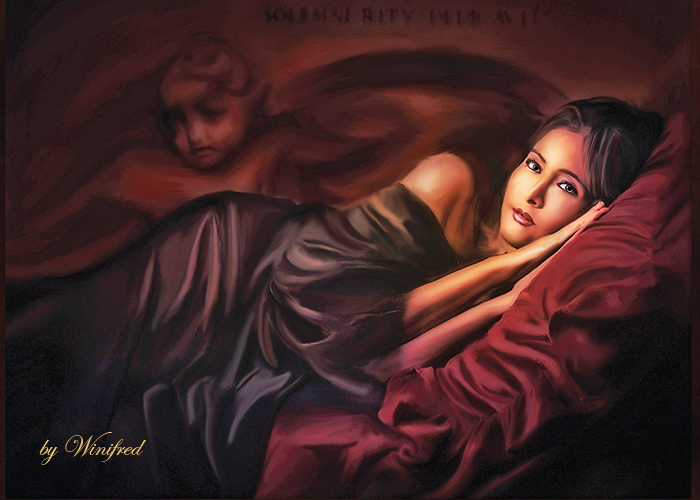
Just Doodling

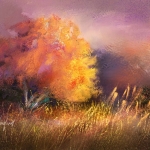
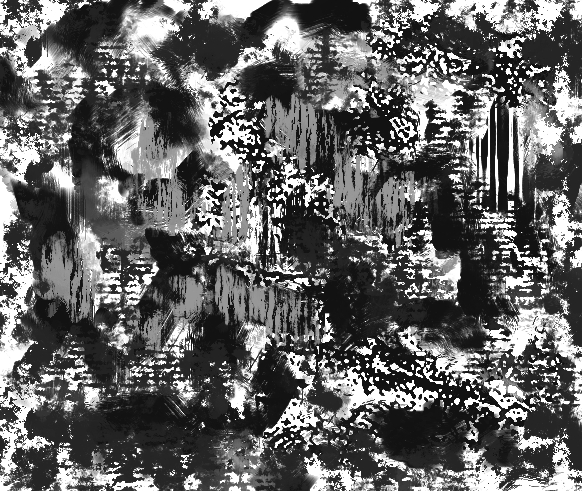
Doodling is taking on a different look for me.  Last night I was playing with various paper and brush combinations in Corel Painter 12 – just making marks and taking my color from gradient mode using some of the new gradients I have recently created. I was just making marks starting with some of the darker tones – they were my newest gradients and some gold tones.  Soon I started to see trees.

I had no painting in mind, so I continued with my marks, adding a bit of green – a little park, perhaps, I thought, and so it went until this little image complete trees and sky and creek and sunlight was born.  I am not concerned about whether it is good or not.  I had fun and it is a different kind of painting for me to do.  That’s enough.  Hope you  enjoy.

Related Images:

Winifred’s Nik Recipes

Winifred Whitfield’s Nik Software Recipes

I created this image with a recipe  made in using Nik Filters in Nik Color Effects  Pro 4.

I will be exporting my recipes for your use. Please sign up to receive my Blog in order to receive them.

Florence, Italy 2009

Related Images: